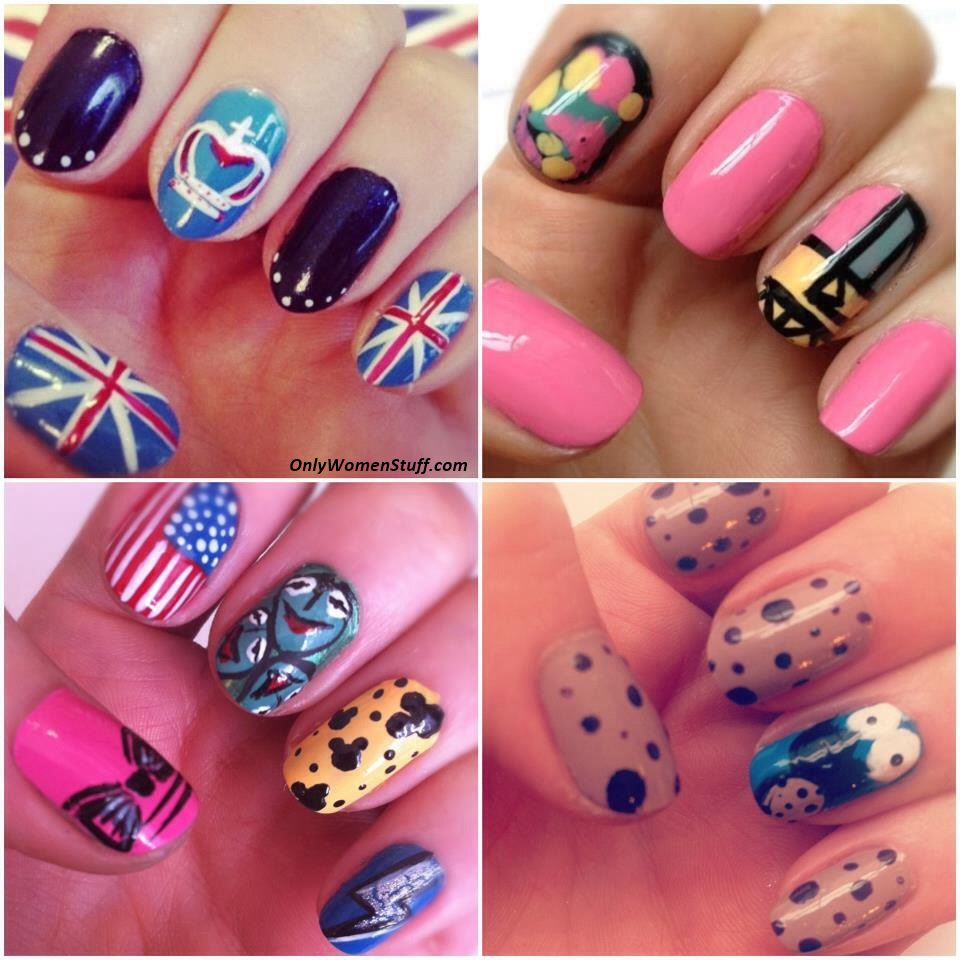
cute nail designs easy do yourself step by step
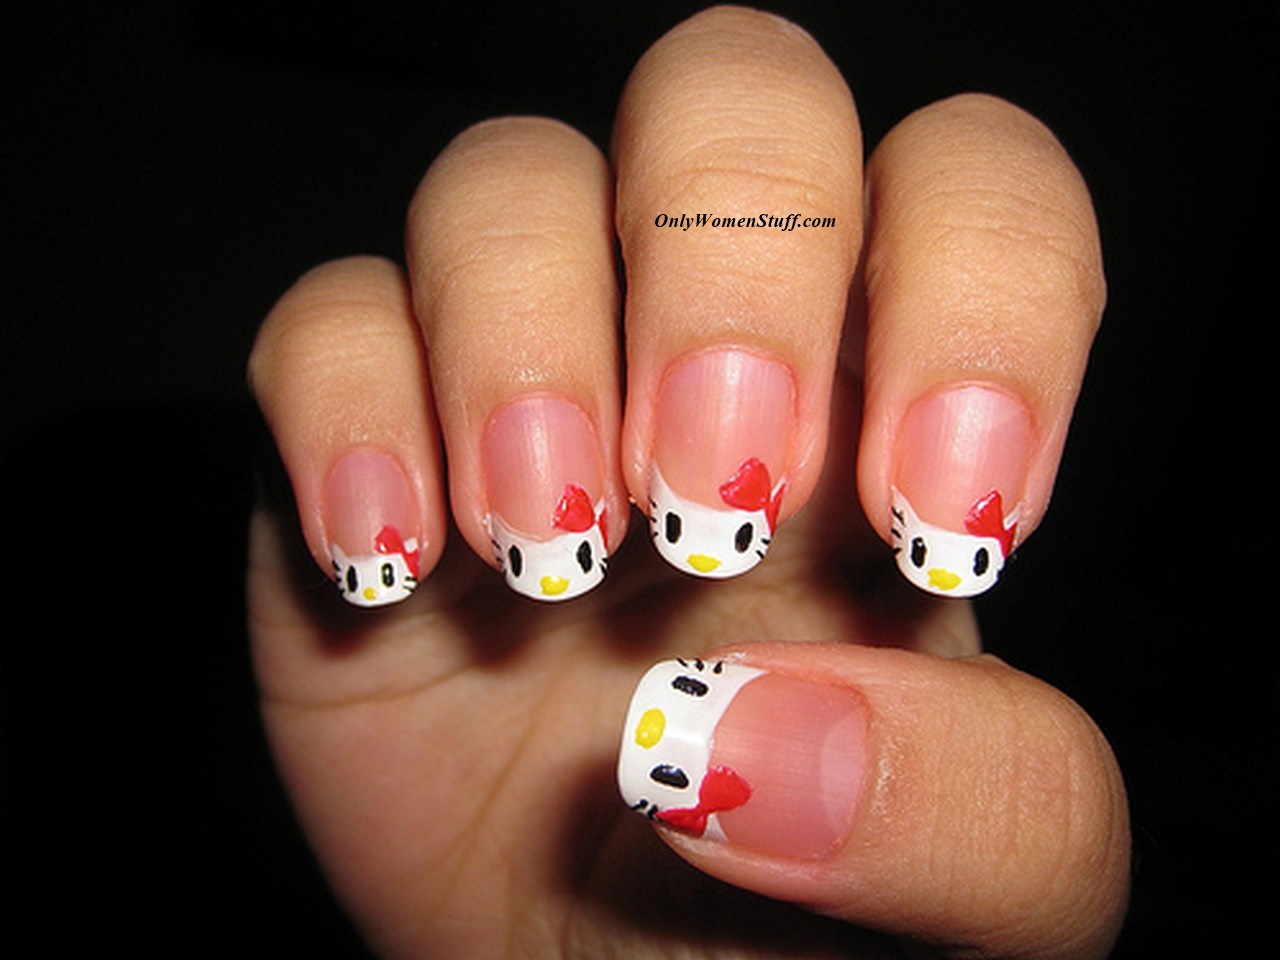
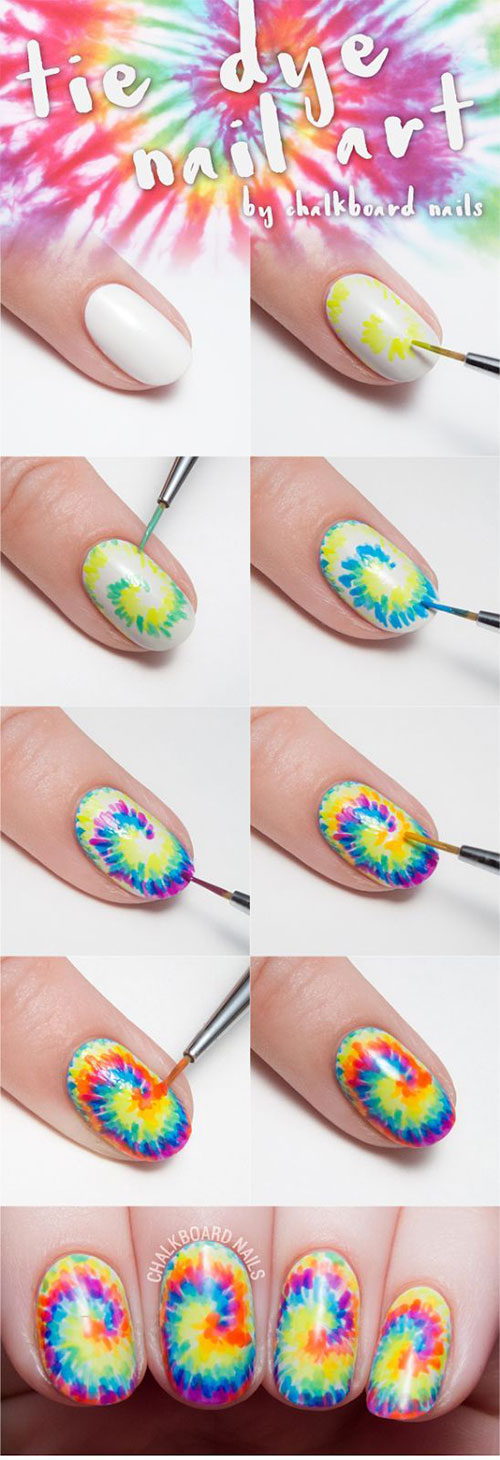
cute nail designs easy do yourself step by step. This post is about a nail and the process required to get it done. The pictures above are what it looks like on my nails. I don't use this method as much in the regular nail making method however I'm sure people using them out of curiosity.
Here's an explanation of the DIY process I used.
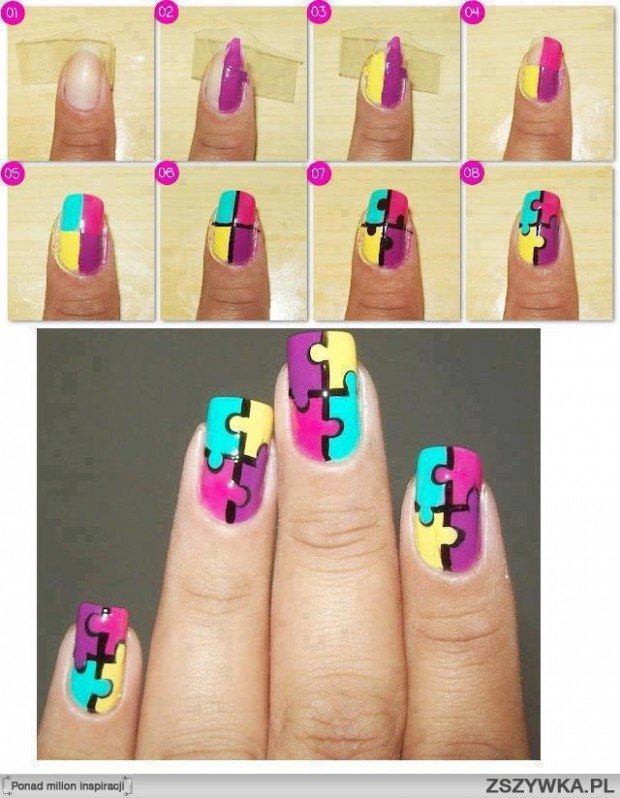
I used 4 different types of nails: nail, nail brush, nail polish, nail glue/glue and nail powder. Here's how it works.
I used my favorite type of nail polish: Zoolock.
I chose nail polish colors that complimented my nail. Here are my most popular color choices. Here are a number of good ones out there.
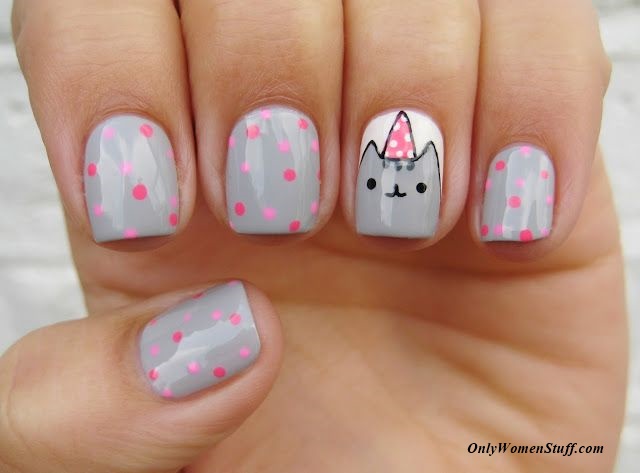
My favorite color was PINK: This is my favorite color from the POD.
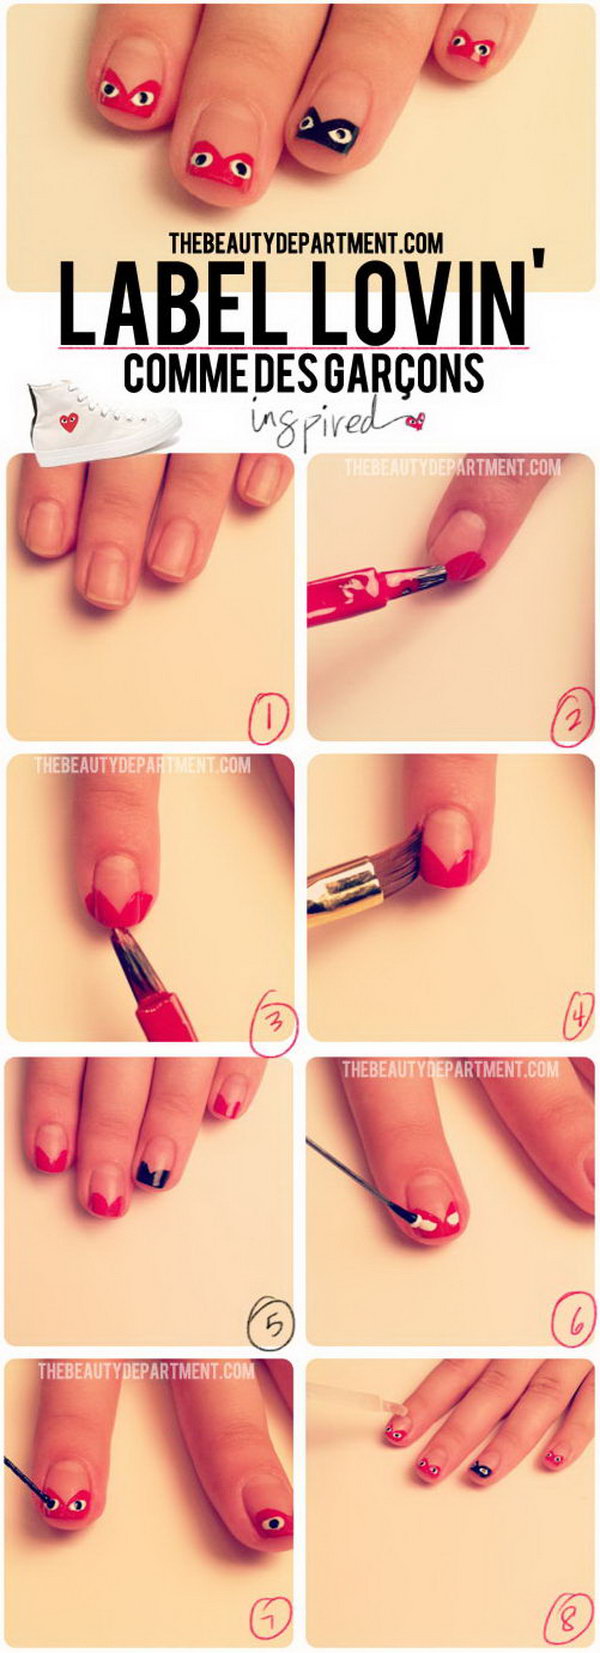
When I make a POD, the first step that comes to mind is using a nail polish that is on dry skin, which will be a bit less pigmented.
When making nail polish, I love to use POD cream, but if you feel like it is thicker than your skin then I recommend not using POD and sticking to its natural look. When I use a POD cream, first I add a powder coat to the end of the tube and then fill it with that. You will notice the color changes quickly after that.
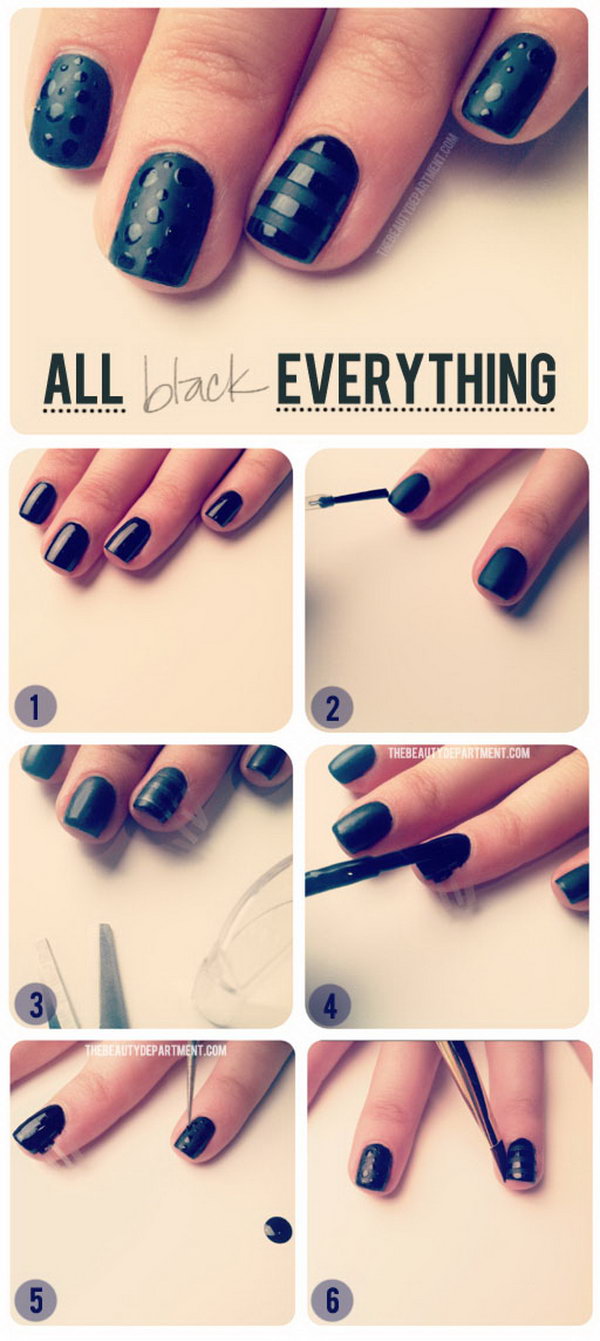
You will notice this has the feeling of a black cake


How to make cute nail designs at home?How to make cute nail designs at home?What are some cool nail ideas?What are some cool nail ideas?What are some cute nail designs?What are some cute nail designs?How to make cute nails?How to make cute nails?


Komentar
Posting Komentar